Floral arches a la Prince Harry and Meghan Markle's wedding ceremony continue to trend for weddings. We can translate this trend effortlessly for a dreamy bridal shower, without spending the big bucks.
We enlisted our trusted wedding florists and friends, Michele and Marianne, from Tango & Foxtrot to show us how to make a beautiful DIY Foliage Floral Arch.
To make a statement, try an ultra-simplified version by taping stems of foliage onto a focal wall or door frame to capture the essence of a floral arch. Be sure to attach the foliage the night before or the morning of the event. Allow about 1.5 hours for the installation. It's a simple process, but you'll want to fluff and finesse!

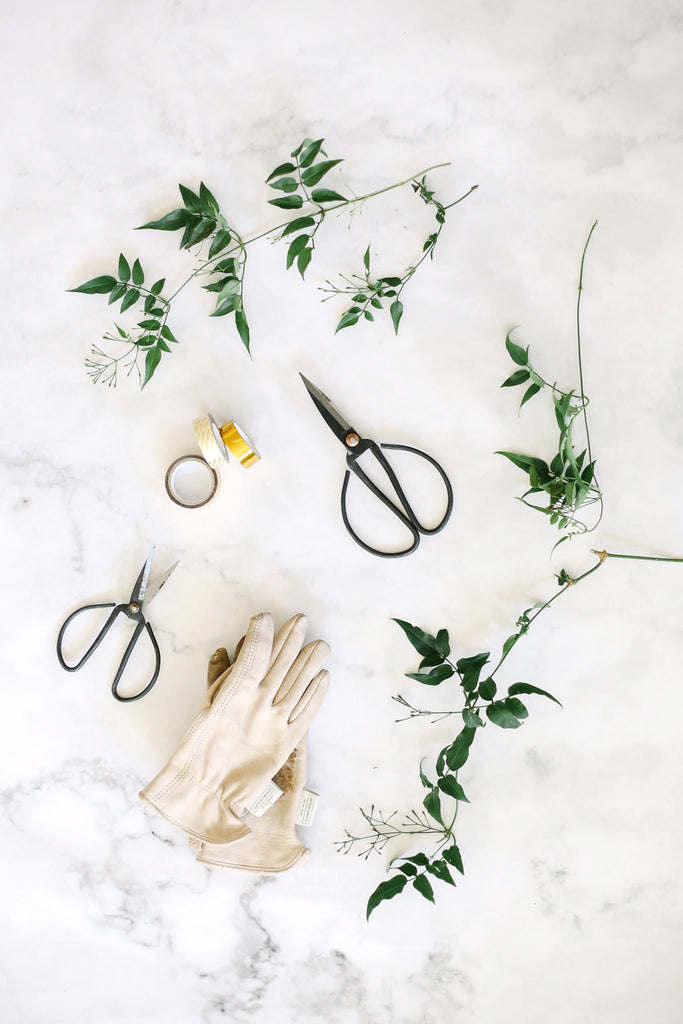
DIY Ingredients:

First, weed out unsightly dead leaves and lay out all the usable ones on the floor.
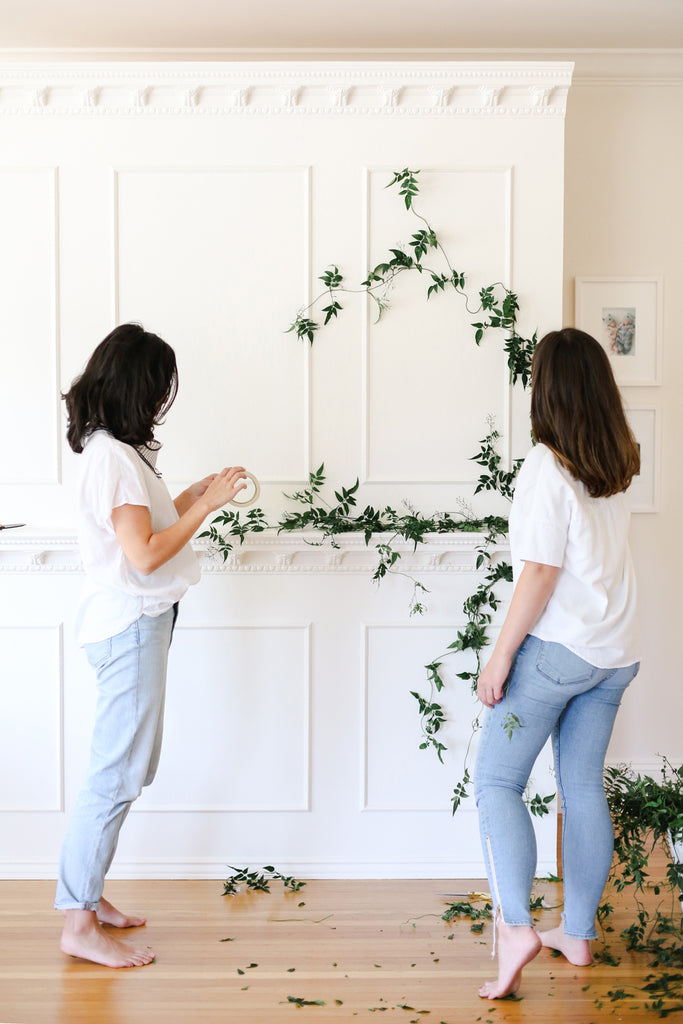
 Then, map out an arch shape on the wall or door frame. We suggest starting on top and working your way down. We like a more top heavy look. Fill in with more vines as needed!

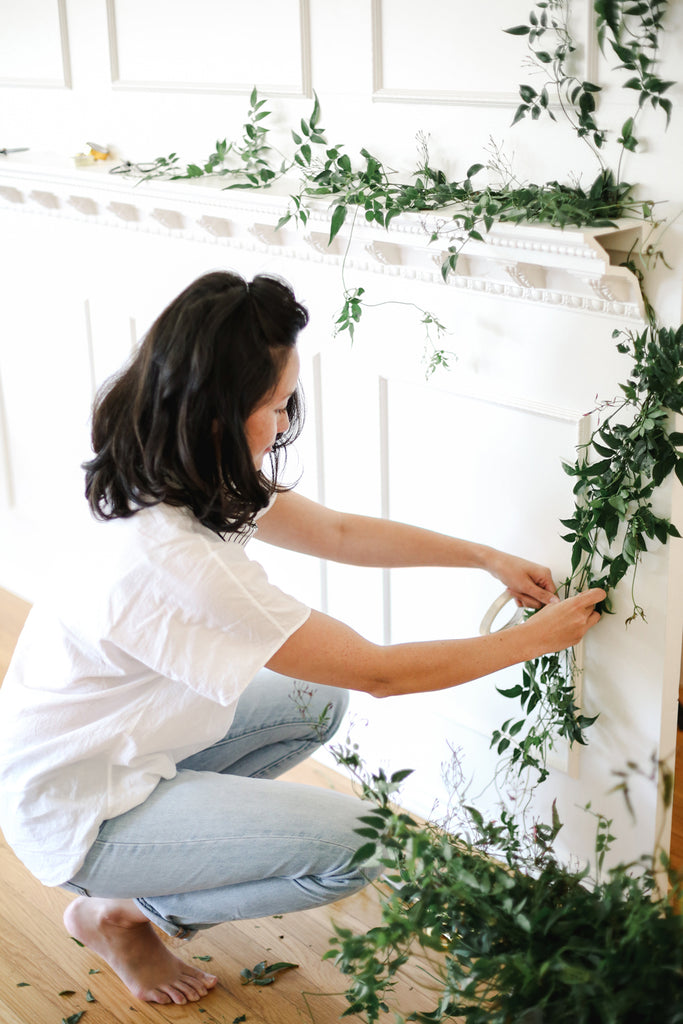
To secure the leaves, simply tape the stems along the desired path. Start with a piece of tape that is horizontally placed on the stem. Then, secure the tape with two additional pieces of tape in the shape of an X. The result should look like three pieces of tape that look like an asterisk as shown below.

We decided to go for a semi-arch shape and cover just the right side of our wall. Since we have some wainscoting paneling on our wall, we decided to also lay some foliage on top as well.
And voila! The result is an elegant and chic Foliage Floral Arch as the backdrop for a beautiful dinner table. Ready for Dreamy Bridal Shower Part 2?


Leave a comment